How to Use a UV Nail Lamp for Perfect Gel Nails?
Share
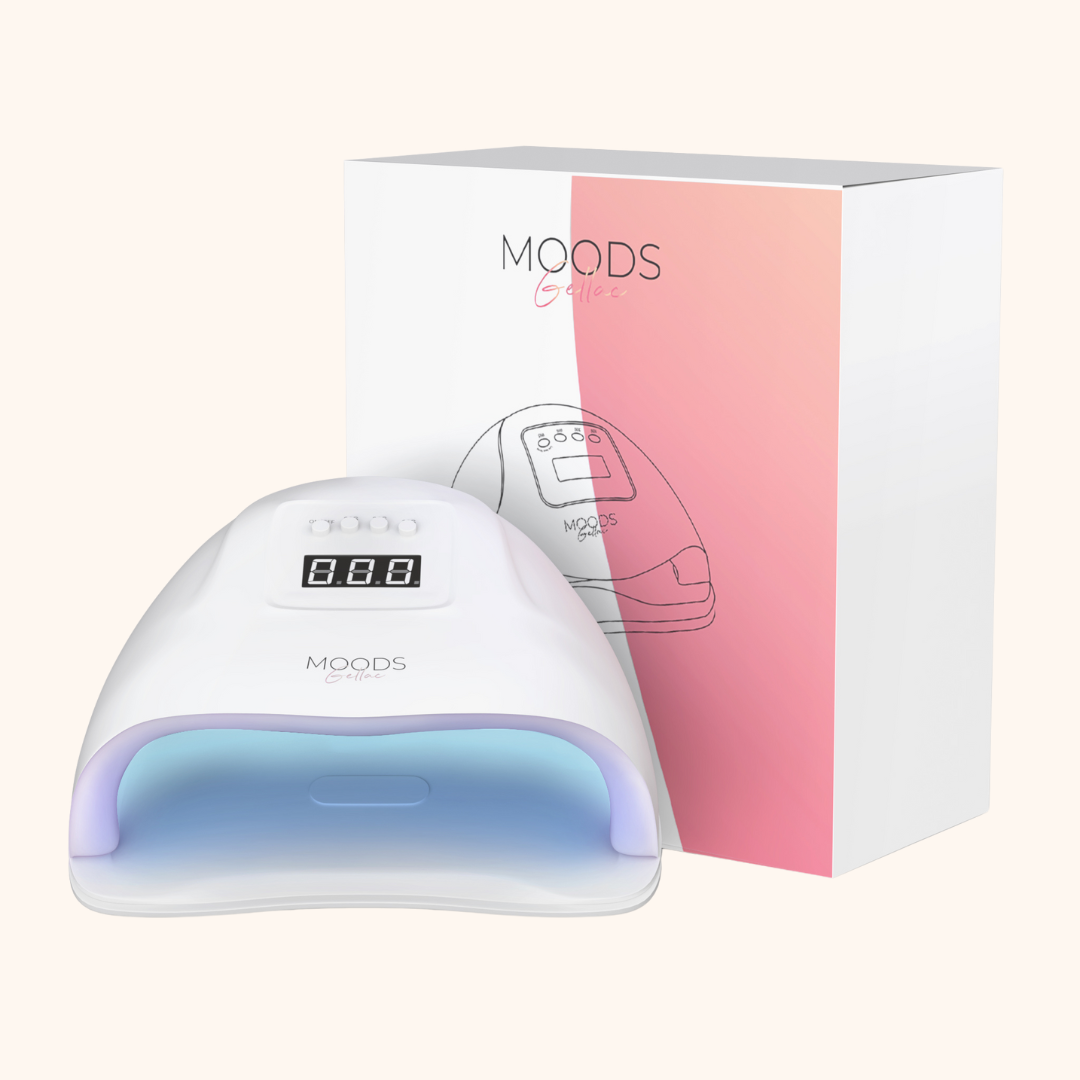
How to Use MoodsGellac UV Nail Lamps: A Complete Guide
DIY gel polish is a growing trend, and at MoodsGellac we make it easier than ever with our high-quality products and UV nail lamps. As gel nail polish specialists, we know how important it is to achieve long-lasting, professional results. In this blog post, we discuss how to use our UV nail lamps and give you step-by-step instructions for perfect results.
Why Choose MoodsGellac?
At MoodsGellac, we not only provide gel nail polish in a wide range of colours, but we also ensure that our products are safe, durable and easy to apply. Our UV nail lamps are designed for optimal curing of our polishes, resulting in a manicure that stays beautiful for weeks without chipping or fading.
The Importance of a UV Nail Lamp
Our UV nail lamps play a crucial role in the curing process of the gel polish. Without the lamp, the polish would remain sticky and not fully harden. By using our UV nail lamps, the gel polish is fully hardened, which ensures a strong, long-lasting manicure. Our lamps are specially designed to work perfectly with our MoodsGellac products, ensuring you an optimal result.
How to Use a MoodsGellac UV Nail Lamp?
Step 1: Prepare Your Nails
Start by cleaning your nails by removing old polish and filing your nail plate. Make sure your nails are free of grease for the best adhesion. A clean and smooth base is the first step to a beautiful manicure.
Step 2: Apply Our MoodsGellac Base Coat
Our base coat forms the basis for a long-lasting manicure. Apply a thin layer and place your hand under the UV lamp. In 60 seconds the base coat is hardened and ready for the next layer.
Step 3: Apply Your Color
Choose your favorite color from our extensive collection and apply thin layers. After each layer, place your nails under the UV lamp so that the polish hardens completely. Each layer takes about 60 to 90 seconds under the lamp, depending on the thickness.
Step 4: The MoodsGellac Top Coat
Finish with our top coat to give your manicure a beautiful shine and extra protection. Let this layer also cure under the UV lamp for a fully sealed manicure.
Step 5: Remove the Sticky Layer
After the top coat has hardened, a sticky layer may remain. Use a cleaner to gently remove this and your nails will have a shiny, smooth finish.
Tips for Using Our UV Nail Lamps
- Choose the right time: Our lamps have different timer settings. Depending on the layer, the curing time may vary.
- Do not move your hand: Make sure your hand remains still during curing for an even result.
- Maintain your lamp: Regularly clean the lamp of dust and paint residue to keep performance optimal.
Safety and Health
Although UV radiation is often mentioned as a concern, the amount of UV light that our nail lamps emit is very low. When used correctly, our lamps are completely safe. For added peace of mind, you can always apply sunscreen to your hands before using the lamp.
Conclusion
At MoodsGellac we strive to provide you with the best in gel polish and nail lamps. With our high-quality products and carefully designed UV nail lamps, you can easily achieve a professional manicure at home. Follow the steps above and enjoy perfectly painted nails for weeks.